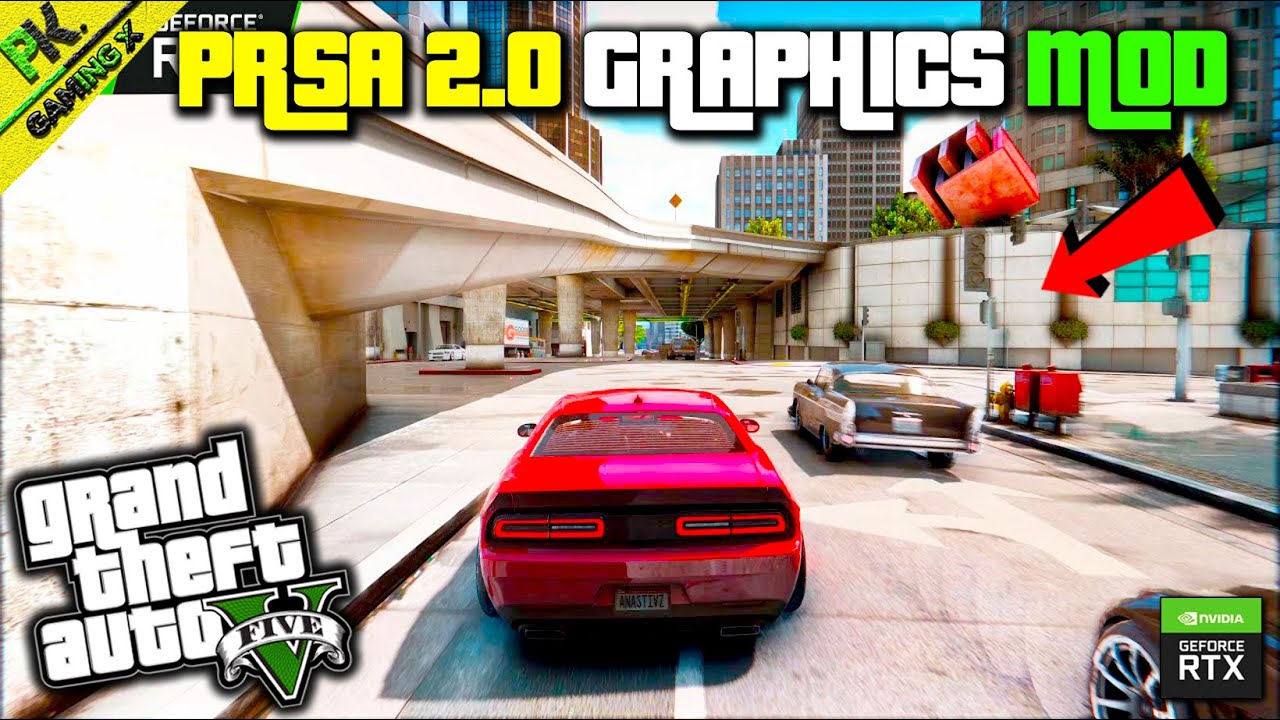
PRSA 2.0 GRAPHICS MOD IN GTA 5
Installing the PRSA 2.0 Graphics Mod in GTA 5 can significantly enhance the game is visuals bringing stunning realism to lighting reflections and atmospheric effects. This mod is highly regarded for its cinematic quality making GTA 5 look more lifelike and immersive. Here is a simple guide to installing it on your system.

First download the PRSA 2.0 mod By Click Here. Alongside the mod ensure you have Reshade and NaturalVision Evolved (NVE) installed as PRSA often works in combination with these tools for optimal performance. Extract the downloaded PRSA 2.0 files to a temporary folder for easy access.
HOW TO INSTALL PRSA 2.0 GRAPHICS MOD IN GTA 5
Next locate the GTA 5 installation folder on your computer which is typically found in the "Program Files" or "Program Files (x86)" directory. Copy the PRSA 2.0 mod files into the same directory as the game is main executable file (GTAV.exe). Be sure to replace any existing files if prompted during this process to ensure the mod is properly integrated.
Conclusion
Finally launch the game and open the Reshade menu using the default shortcut (usually “Home” on your keyboard). From there load the PRSA 2.0 preset included with the mod. Adjust any additional settings if needed to suit your preferences. Once done you will notice the incredible difference in lighting reflections and overall graphical fidelity transforming your GTA 5 experience into a visual masterpiece.


